Interactive geoboard online
The geoboard makes geometry concrete: the pupil stretches bands between the pegs and builds segments, polygons and shapes with their own hands. Concrete doing helps them grasp area, perimeter and angles in a way that often stays abstract on paper — the pupil can count the squares, turn one shape into another of equal area and check their own reasoning straight away.
It works from the first shapes all the way to lower secondary geometry. In digital form it also works on the classroom board, as a shared tool for the whole class.
Six ways to practise
In checked mode you choose the task type. Each one trains something different, and each one checks itself.
- Trace a given shape
- A shape appears on the board and the pupil builds a matching one with the bands. The right first task while the tool is still new.
- Draw a named shape
- No template is shown. The instruction says “build a parallelogram”, and the pupil has to know what a parallelogram is.
- Mirror across an axis
- The pupil mirrors a shape across a vertical or horizontal axis. The original can stay visible as support or be hidden, which makes the task markedly harder.
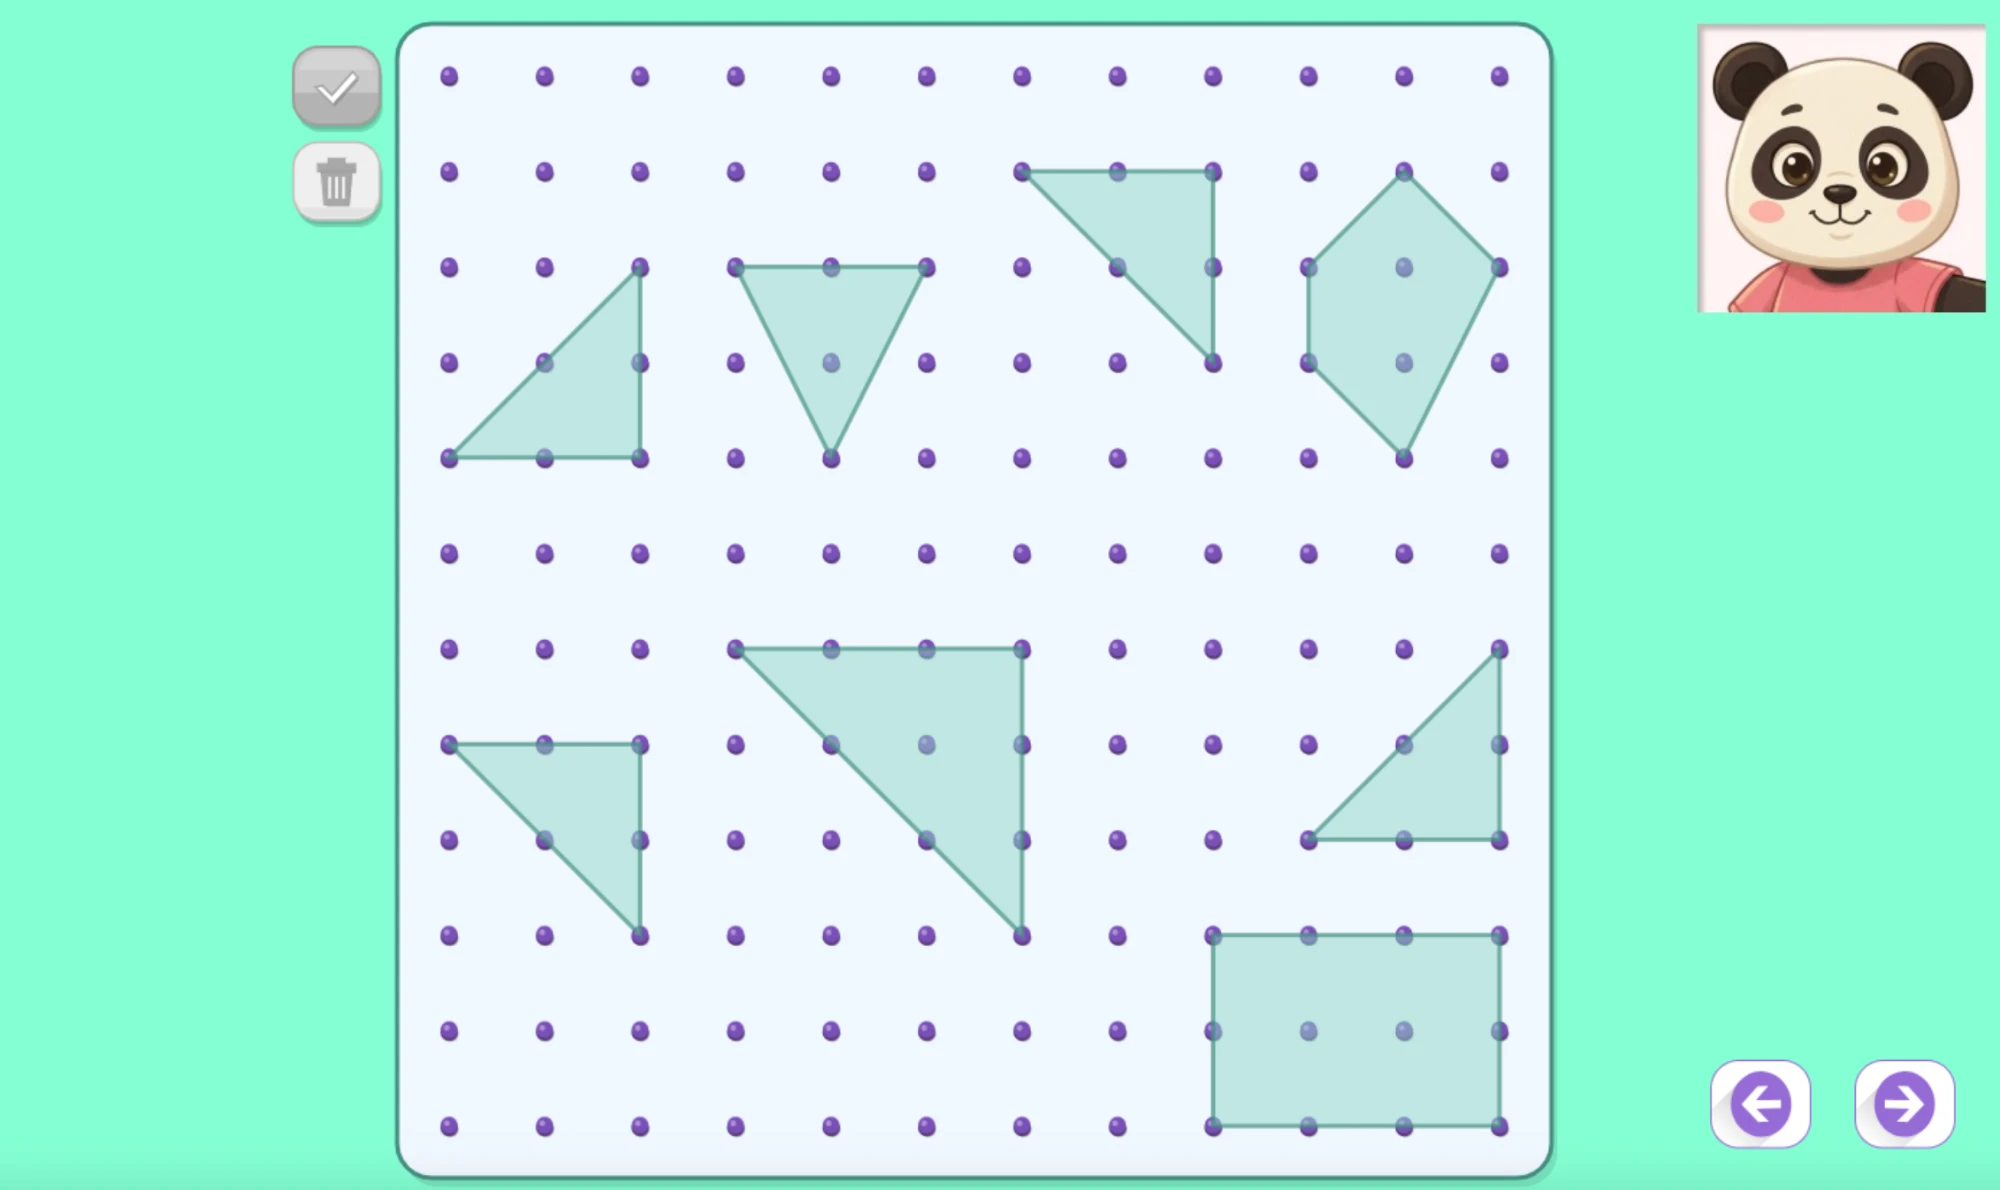
- Identify shapes
- Several shapes sit on the board and the pupil picks the ones matching the prompt. The selection can be a single shape or several at once.
- Draw a perpendicular
- A line is already on the board, and the pupil stretches a band at a right angle to it.
- Draw a parallel
- Same setup, but the new line must never meet the given one. Both line tasks let you set whether it is a segment or a full line, whether the line may run diagonally or only along the axes, and whether the lines have to intersect.
The shapes you can build
There are nine shapes: rectangle, square, parallelogram, quadrilateral, pentagon and triangle — and among the triangles, separately, the right, the acute and the obtuse one.
The triangle types are their own options because telling them apart is exactly what geometry practises: one word covers three different figures, and on the geoboard the difference shows the moment the band tightens between the pegs.
The task checks itself
In checked mode the board has a Check button. The pupil gets the answer immediately rather than next lesson, and the teacher does not collect twenty-five exercise books. A wrong answer is not an endpoint either but an invitation to try again — moving a band is quicker than rubbing out.
Free mode has no checking at all, and that is deliberate. Exploring is not a test.
A 6×6 or 12×12 grid
The grid size is chosen per page. The smaller 6×6 suits the youngest pupils: fewer pegs, large shapes, and the band lands where it should without fuss. The 12×12 leaves room for more complex figures and for counting area more precisely.
In the identify task the number of shapes follows the grid automatically: two to four on the 6×6, five to eight on the 12×12.
How to create this exercise
- Choose the mode: free exploration or a checked task.
- Pick the grid, 6×6 or 12×12, to match the pupils' age.
- For a task, pick the type: trace a given shape, draw a named shape, mirror a shape across an axis, identify shapes, or draw a perpendicular or parallel line.
- Choose the shape — a rectangle, a triangle or a pentagon, for example.
- Write the instruction that tells the pupil what to build.
Tip: Let the pupil explore in free mode first. Once the bands feel familiar, their attention in the checked task goes to the geometry rather than to the tool.
Do you want to create your own geoboard geometry exercises?
Sign up